The Electra Forums

Guitar Talk about Electra and other vintage imported guitars
Home
Index of Models
The Electra Forums
PM Inbox
It is currently Mon Nov 25, 2024 11:05 pm

All times are UTC - 8 hours


Post new topic Reply to topic  [ 51 posts ]  Go to page Previous  1, 2, 3, 4  Next
Author Message
PostPosted: Fri Jun 10, 2011 3:24 pm 
Offline

Joined: Thu Jun 17, 2010 1:50 pm
Posts: 1569
Location: New Jersey
I ordered a stop tail. The tuners I have are these: http://www.stewmac.com/shop/Tuners/Guit ... es#details
Not ordered off StewMac because of their ridiculous prices. Now I need to see if I have a 29/64 bit for the stopbar bushings. My guess is no.


Top
 Profile  
 
PostPosted: Fri Jun 10, 2011 3:57 pm 
Offline
User avatar

Joined: Sat Dec 05, 2009 1:21 pm
Posts: 470
Location: south o' St.Louie,home of SLM
Use a brad point bit or a forstner bit for the bushings,nice clean flat bottomed holes and no tearouts. :up:
Joe :oops:

_________________
"If it ain't been in the pawnshop,it can't play the blues" R.L.Burnside


Top
 Profile  
 
PostPosted: Fri Jun 10, 2011 5:15 pm 
Offline

Joined: Thu Jun 17, 2010 1:50 pm
Posts: 1569
Location: New Jersey
That's a good tip Joe and I happen to have a 7/16 brad point that will do the deed. I think I will try a tru-oil finish over my rattle can of ReRanch Gibson Cherry/Heritage Red. More sanding and grain filling before all that happens though. My finish plan is a real light coat of minwax dark walnut, then the ReRanch, followed by as many coats of tru-oil I think it needs. (I'm guessing 8 or 10) Does a sealer need to be applied over the stain before the Tru-Oil?

I came across Formby's paint and poly remover today. If it actually removes poly then it's the bomb. Anyone tried it????


Top
 Profile  
 
PostPosted: Sat Jun 18, 2011 3:28 pm 
Offline

Joined: Thu Jun 17, 2010 1:50 pm
Posts: 1569
Location: New Jersey
Headstock binding is done. I filled the tuner holes with wood filler that didn't take the stain very well - I need to figure something out for that. Maybe nail polish. Stop tail holes drilled. Bigsby screw holes dowelled and sanded off. I think another quick pass with 600 grit and I'm ready for stain on the body tomorrow. I did a fast touch up on the back of the neck to see how the ReRanch Heritage stain matched up and to fill a few areas. The nitro rattle can was about $26 with shipping but it is the bees knees. An excellent match. Having trouble getting Tru-Oil. I saw it somewhere in the last week and now I can't remember where - Not at Lowes or Home Depot so it must have been either WallyWorld or my local paint store. Pictures tomorrow.


Top
 Profile  
 
PostPosted: Sun Jun 19, 2011 3:13 pm 
Offline

Joined: Thu Jun 17, 2010 1:50 pm
Posts: 1569
Location: New Jersey
Pictures as promised. I don't drink and I still managed to drill a bad hole for the stopbar. I must have measured it out at least 3 times. @$%^*(&^$@!! That hole is the one nearest the controls. It's filled just about to the top with epoxy now and will get re-drilled. If I'm really lucky the lip of the bushing will cover up the screw up - but I don't think so. On the bright side the headstock binding came out better than the pictures look and the bigsby holes covered up real well. The tear out by the input jack repaired pretty well too. As it turns out the bridge, studs, and thumbwheels are mismatched and the knobs are pretty wiped out too - so more new parts on the way. The only original stuff going back in will be the electronics and pickups. Everything else is new. I'm still bamboozled by the nut. Closest I can tell it's 1-5/8 wide and 1-11/32 e to e. The 1-11/16 SG nut I bought is clearly too big. If someone could confirm the nut size for me I would be very grateful and a good deal less psychotic.

FYI - That's 3 coats of stain and 4 coats clear lacquer. I used a VERY light coat of Minwax dark walnut as a base on the back but none on the front - it's too difficult to control and I ended up sanding w 320 to knock some off the back.

Image
Image
Image
Image
Image
Image
Image
Image
Image
Image
Image
Image


Top
 Profile  
 
PostPosted: Sun Jun 19, 2011 9:20 pm 
Offline
User avatar

Joined: Mon Oct 27, 2008 7:10 pm
Posts: 3051
Location: Tifton, Ga USA
A labor of love for certain. Looks nice thus far will be awaiting the finished SG. :up:

_________________
Always give thanks for everyday, It may be your last so Rock On Semper Fi!!


Top
 Profile  
 
PostPosted: Fri Jun 24, 2011 11:19 am 
Offline

Joined: Thu Jun 17, 2010 1:50 pm
Posts: 1569
Location: New Jersey
The re-drilled tailpiece repair went pretty well - until I went to spray it. My half full can of ReRanch ($26.95) completely depressurized in about a minute and a half - not good at all. ReRanch is sending me a new can. In the meantime I can wet sand the body with 320 in preparation for a few more passes with the Heritage Red. The wood filler in the headstock holes failed my ridiculously anal "is it good enough" test so I stripped the back of the headstock down to bare wood, redrilled all those little holes (24 of them) dowelled, sanded and painted with what I thought would be a very close color. The dowels are pretty much invisible but the paint dried way lighter than I hoped so I'll scratch sand that and then color match til I get it right. I now have all the parts I need to complete this except the new TOM bridge/studs which is on the way, and the paints/stain/lacquer for final finishing. I'm going to use clear spray lacquer instead of tru-oil I think. My control cavity cover came out OK, but I think I'll re-do it when I can get my hands on a sheet of black plexi or pickguard material. I'm now thinking I have a good shot at ending up with a nice job.
Image
Image
Image
Image


Top
 Profile  
 
PostPosted: Fri Jun 24, 2011 2:29 pm 
Offline
User avatar

Joined: Mon Oct 27, 2008 7:10 pm
Posts: 3051
Location: Tifton, Ga USA
Looks nice to me. that is indeed a tough job and a job well done thus far. Will be witing to see the finished Axe. :up:

_________________
Always give thanks for everyday, It may be your last so Rock On Semper Fi!!


Top
 Profile  
 
PostPosted: Fri Jun 24, 2011 2:42 pm 
Offline
User avatar

Joined: Thu Feb 07, 2008 5:52 am
Posts: 1938
Location: Ann Arbor, Michigan
Are you going to Poly it? That Mahogany sure is porous. Considering what you started with, it's really coming together, and I really think you'll enjoy the hardtail functionally more than the Bigsby once it's together.

_________________
Electra Guitar Videos ===> http://www.youtube.com/user/mjm33mjm?feature=watch


Top
 Profile  
 
PostPosted: Fri Jun 24, 2011 4:35 pm 
Offline

Joined: Thu Jun 17, 2010 1:50 pm
Posts: 1569
Location: New Jersey
Poly would definitely be the fastest way to fill everything but I worry about bubbles and sags with poly. I have had excellent results with poly on furniture. Right now my plan will be for a couple more coats of the stain lacquer and then maybe 2 cans of lacquer clear spray. If thats starting to fill everything and smoothing out, I'll keep with the lacquer until it's completely smooth and buff the daylights out of it in the end. I like lacquer because if it's damaged in the future, a few drops of lacquer will usually melt right in and fix small dings perfectly. It's nowhere near as hard as poly, but it's much more forgiving. The body as it is now without any hardware, is a whopping 2 lbs 10 oz.


Top
 Profile  
 
PostPosted: Wed Jun 29, 2011 2:08 pm 
Offline

Joined: Thu Jun 17, 2010 1:50 pm
Posts: 1569
Location: New Jersey
I got the replacement can of stain and I'm done with the color now except for some touchup around the headstock. My paint color matching on the back of the headstock went reasonably well. Once I hit it up with the stain it looks real good color-wise. I figure I'll need at least 2 days of nice low humidity to finish spraying and sanding the body and then it's re-assembly time. I need to do 1 tiny piece of binding by the nut.


Top
 Profile  
 
PostPosted: Wed Jul 06, 2011 2:46 pm 
Offline
User avatar

Joined: Thu May 03, 2007 9:32 am
Posts: 1025
Location: NYC
Looking good. Be careful about mixing poly and lacquer. They are not always compatible.


Top
 Profile  
 
PostPosted: Wed Jul 06, 2011 6:19 pm 
Offline

Joined: Thu Jun 17, 2010 1:50 pm
Posts: 1569
Location: New Jersey
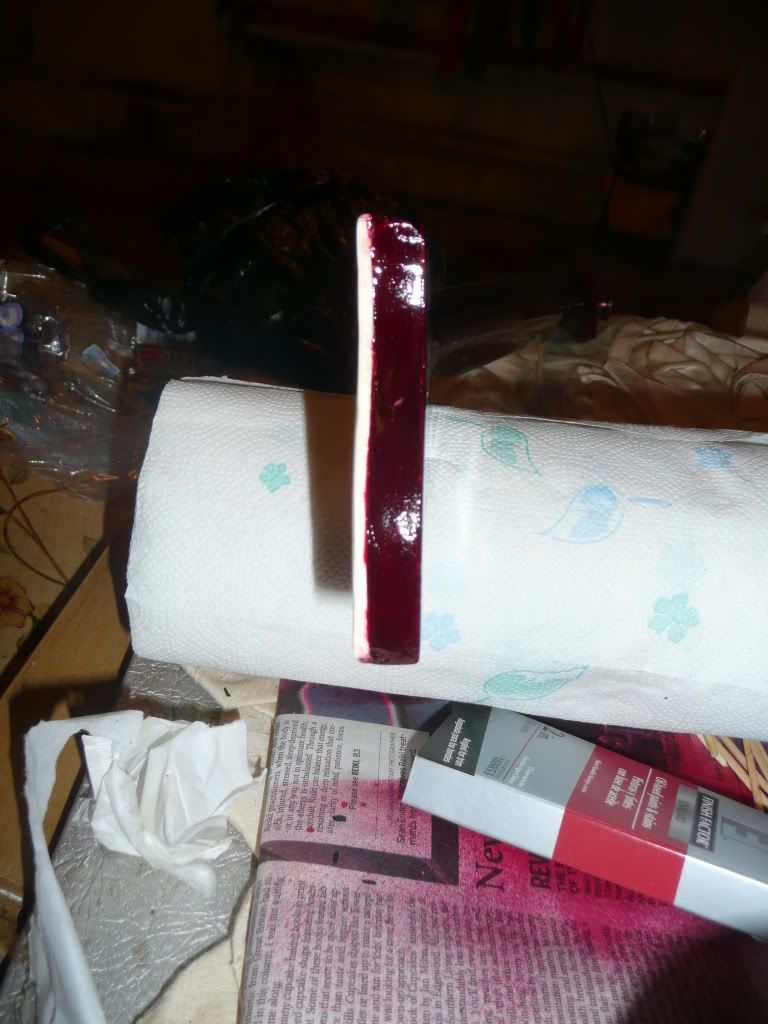
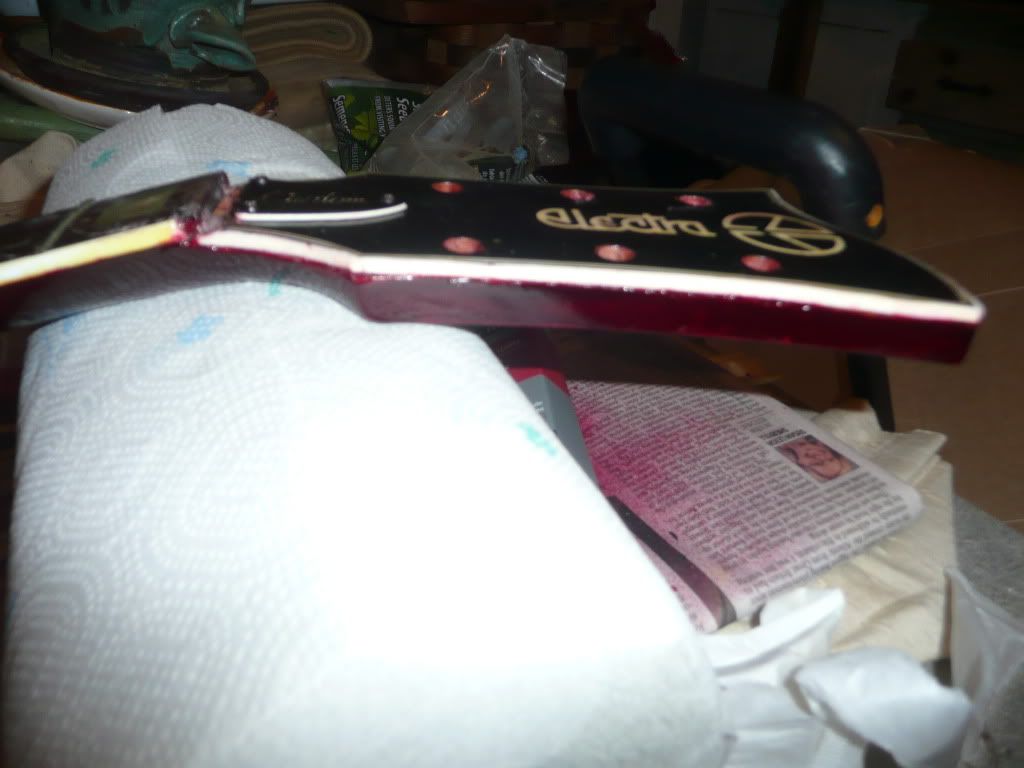
Poly and lacquer do NOT mix. I brushed a couple thick coats of lacquer today and everything has pretty much levelled out nicely. I'll most likely give it a fast sand job and final spray tomorrow if the humidity stays low. I've had a couple near misses with blushing and a couple direct hits with bugs landing in wet lacquer - nothing a little thinner and finger crossing didn't fix though. I promise to get some pics up soon - like tomorrow.


Top
 Profile  
 
PostPosted: Thu Jul 07, 2011 4:53 pm 
Offline

Joined: Thu Jun 17, 2010 1:50 pm
Posts: 1569
Location: New Jersey
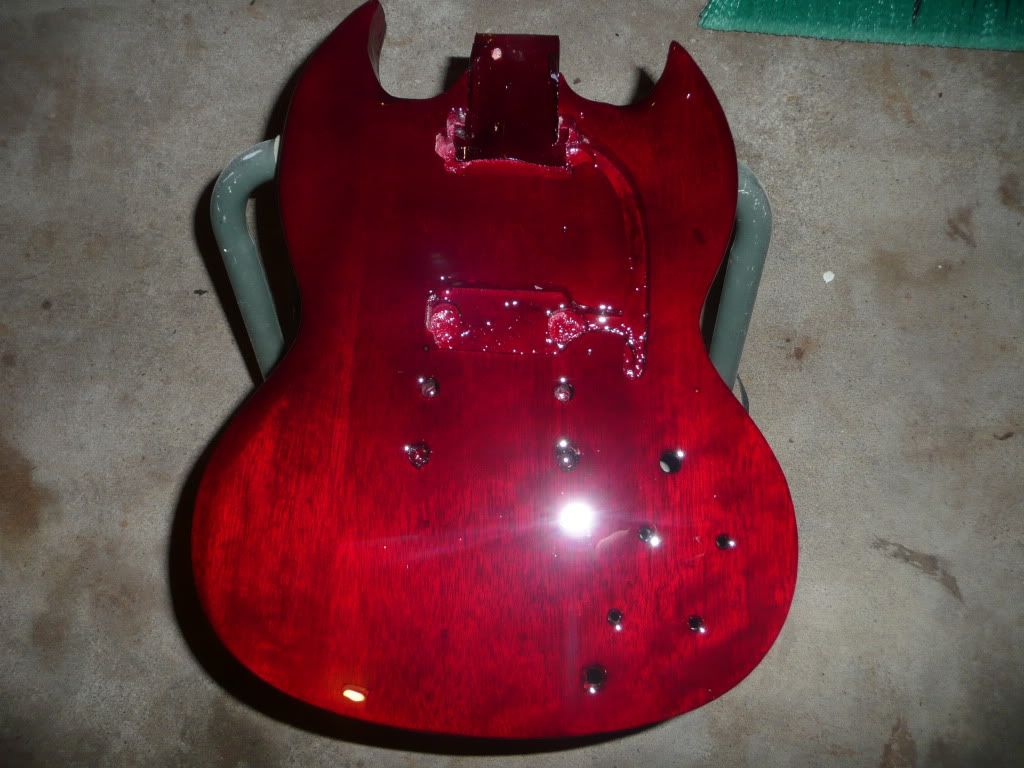
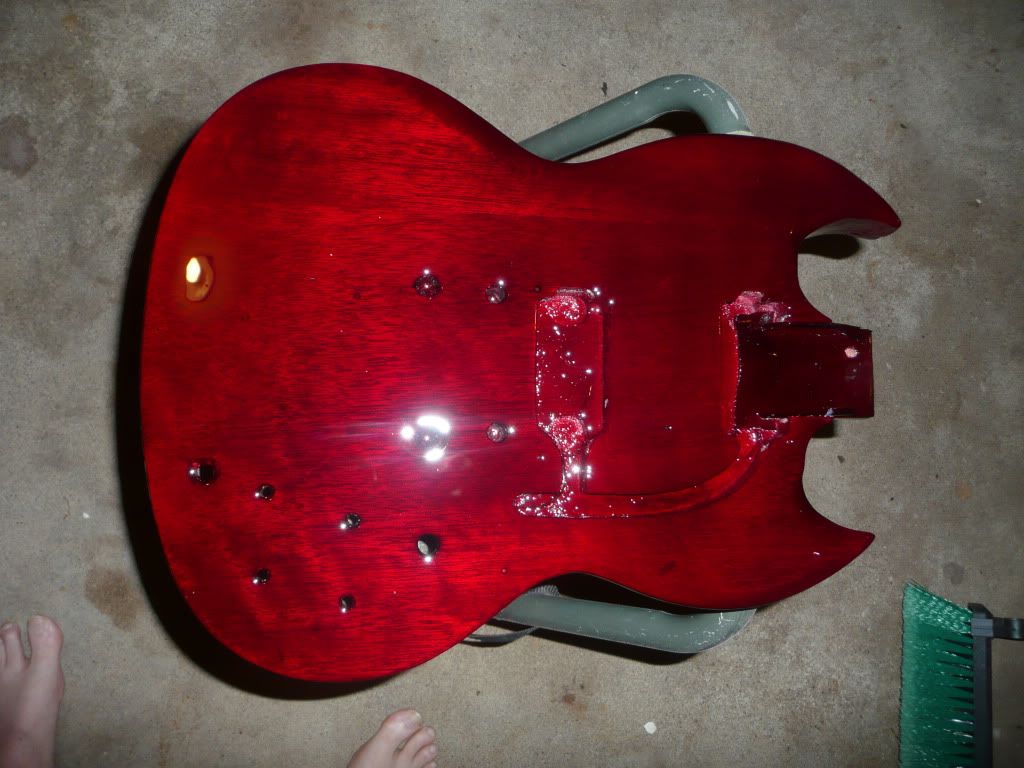
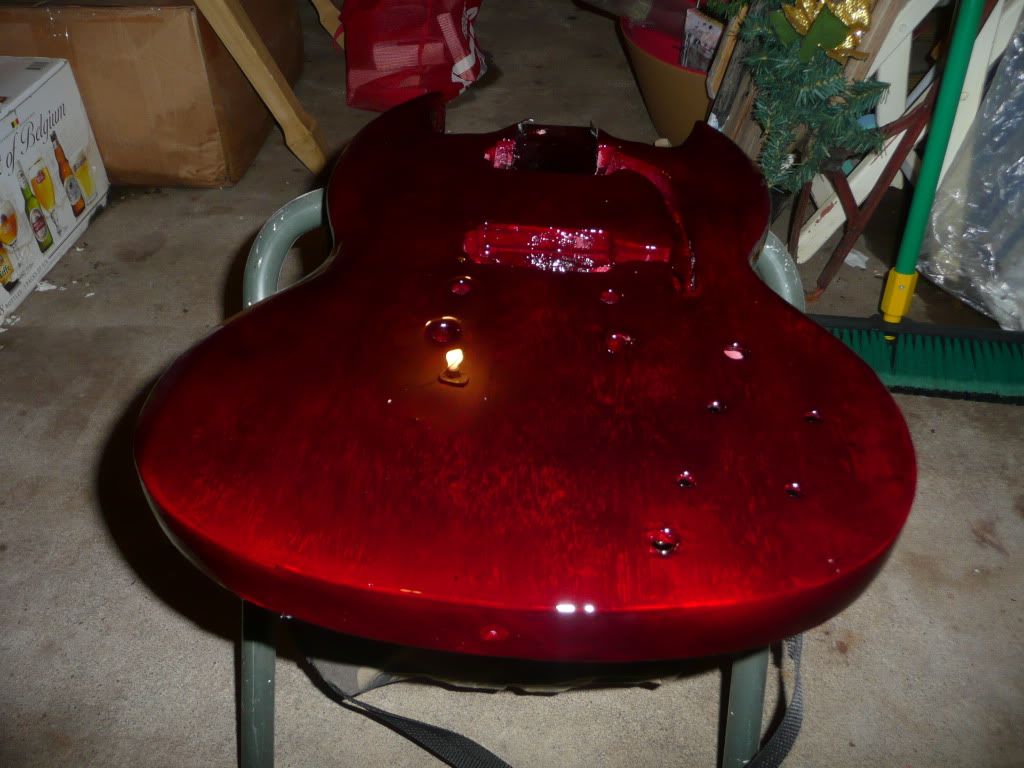
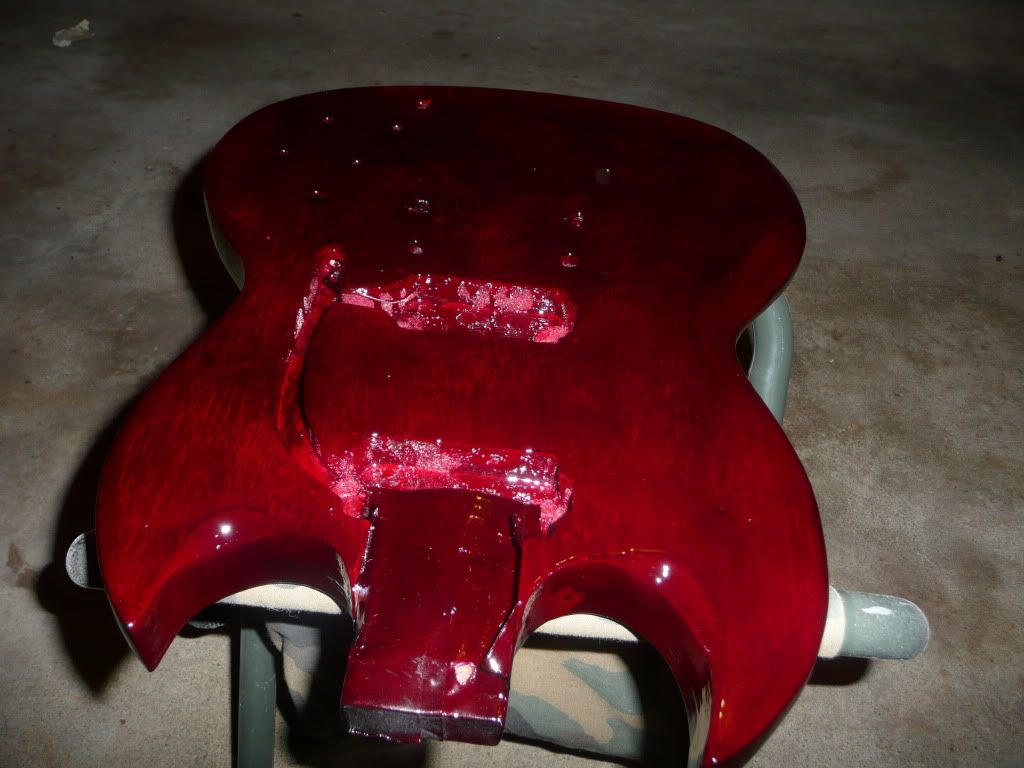
As promised - I know we love pictures so......
Image
Image
Image
Image
Image
Image
Image
Image
Image
Image

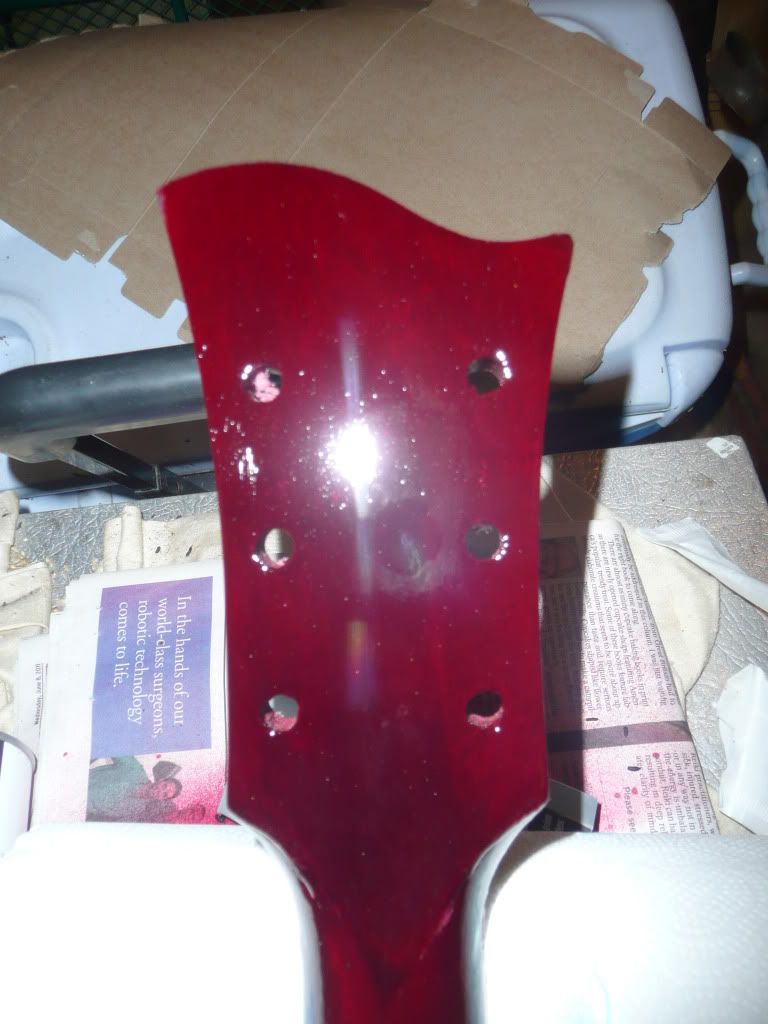
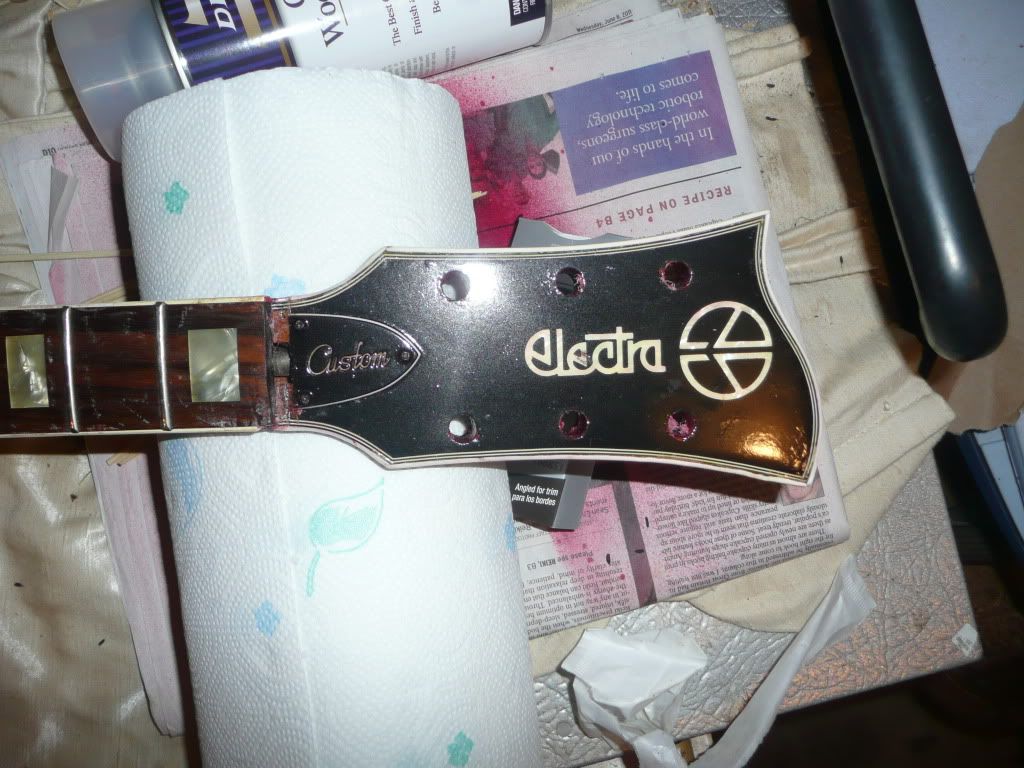
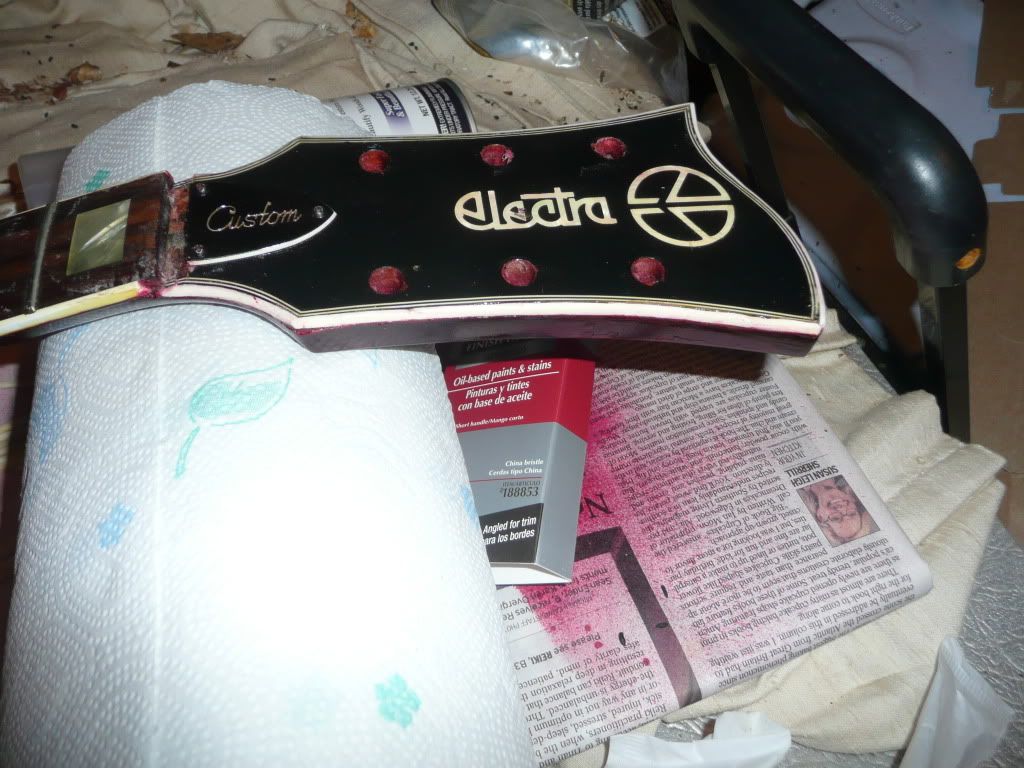
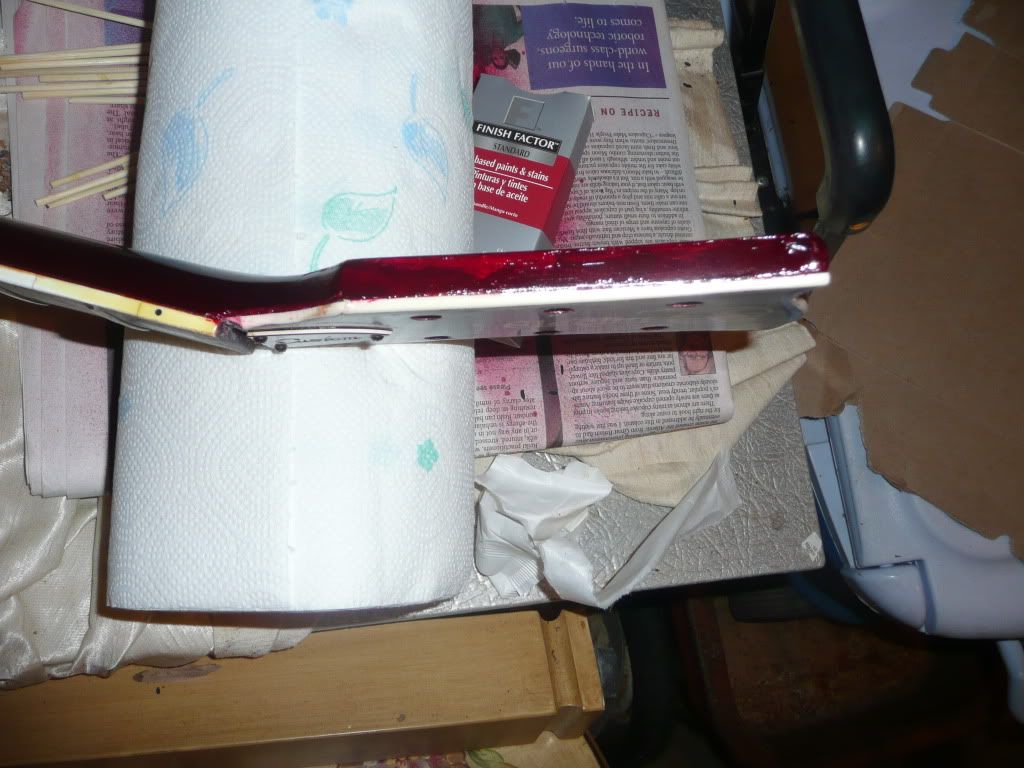
Everything seems to take at least twice as long as I figure. There's a couple tiny gnats in the top finish now - no problem. I'm very happy with how the back of the headstock blended in. Still need to do some work around the HS binding - scraping, sanding, a little stain. I was able to sand and scrape off the yellow buildup on the neck binding and that looks pretty good. I'm pretty much going to declare the top done (after gnat removal and 2 more spray passes). The back will get a couple real heavy brush on coats of lacquer and a couple sprays and be done - probably Saturday since I want to let the top really have a chance to harden more. I'm still waiting on replacement TOM bridge and today I ordered metric switch tips and neck anchors. I do believe it's going to look very good once it's all put back together.


HEY! Check out the light bulb reflection in picture 3! That makes me happy!


Top
 Profile  
 
PostPosted: Thu Jul 07, 2011 5:22 pm 
Offline
User avatar

Joined: Mon Oct 27, 2008 7:10 pm
Posts: 3051
Location: Tifton, Ga USA
8) :up: Thats really looking good. Waiting for more thanks for letting us see the steps in restoration. :up:

_________________
Always give thanks for everyday, It may be your last so Rock On Semper Fi!!


Top
 Profile  
 
Display posts from previous:  Sort by  
Post new topic Reply to topic  [ 51 posts ]  Go to page Previous  1, 2, 3, 4  Next

All times are UTC - 8 hours


Who is online

Users browsing this forum: No registered users and 4 guests


You cannot post new topics in this forum
You cannot reply to topics in this forum
You cannot edit your posts in this forum
You cannot delete your posts in this forum

Search for:
Jump to:  
cron
Powered by phpBB® Forum Software © phpBB Group